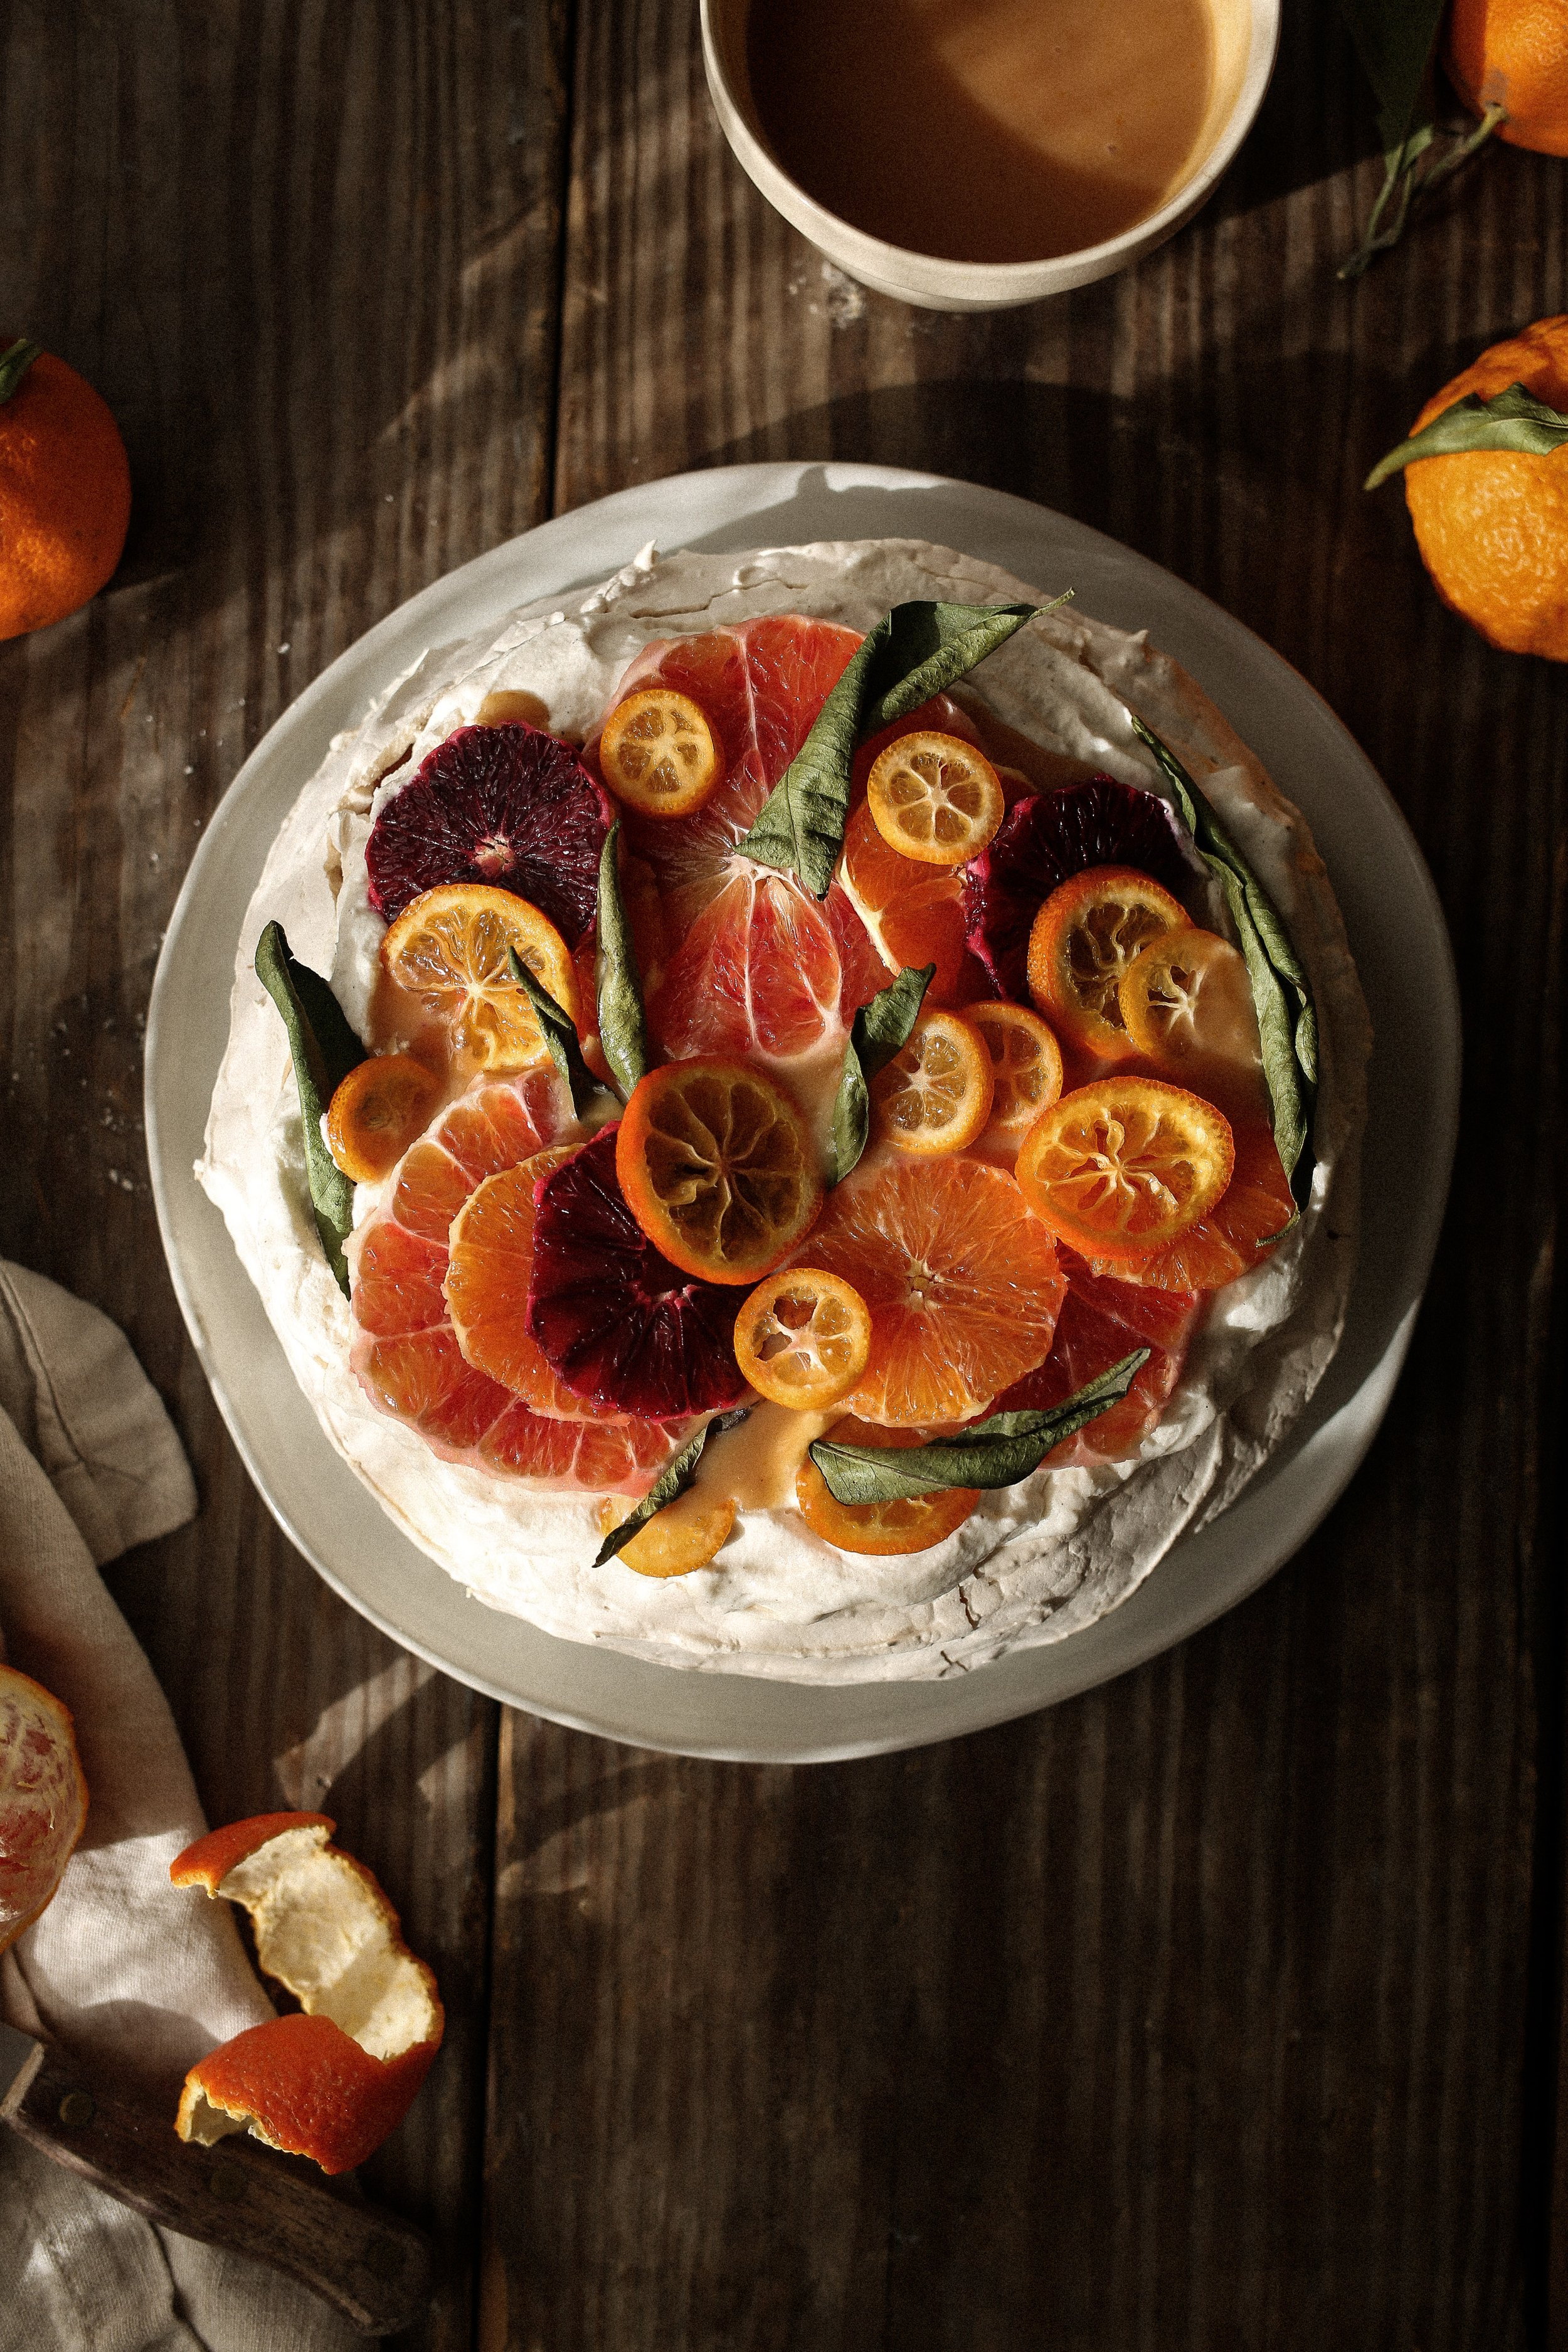
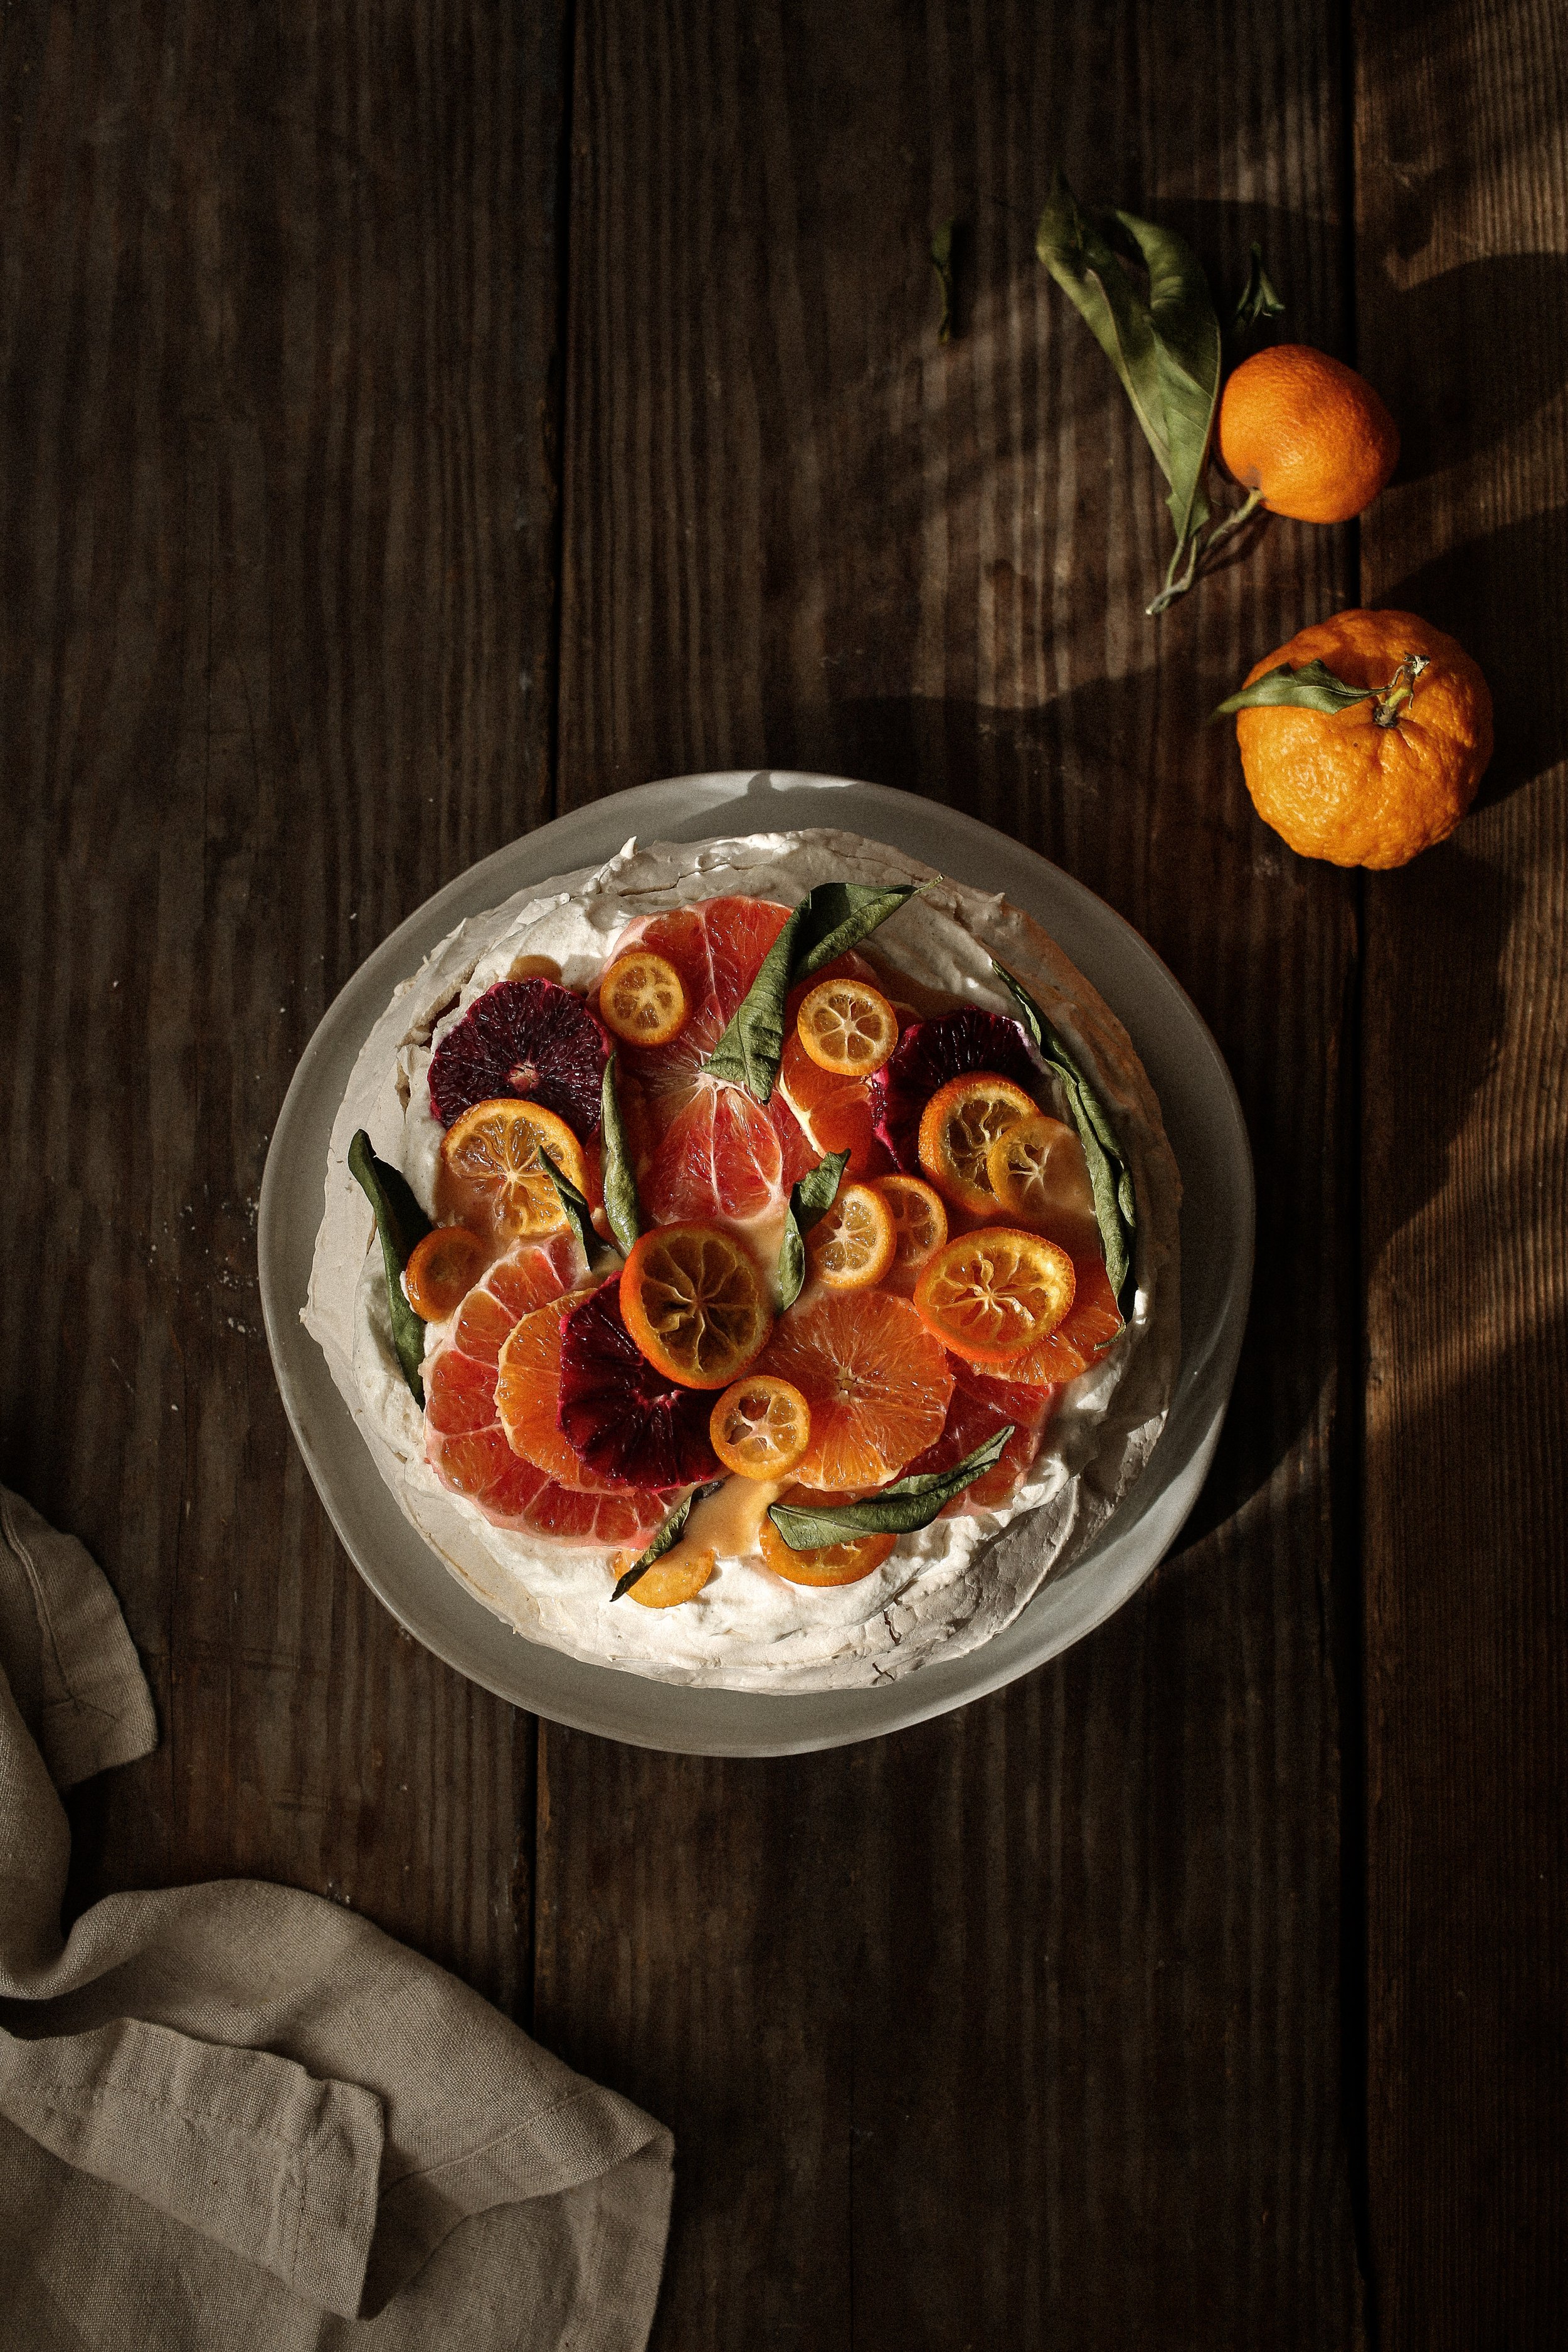
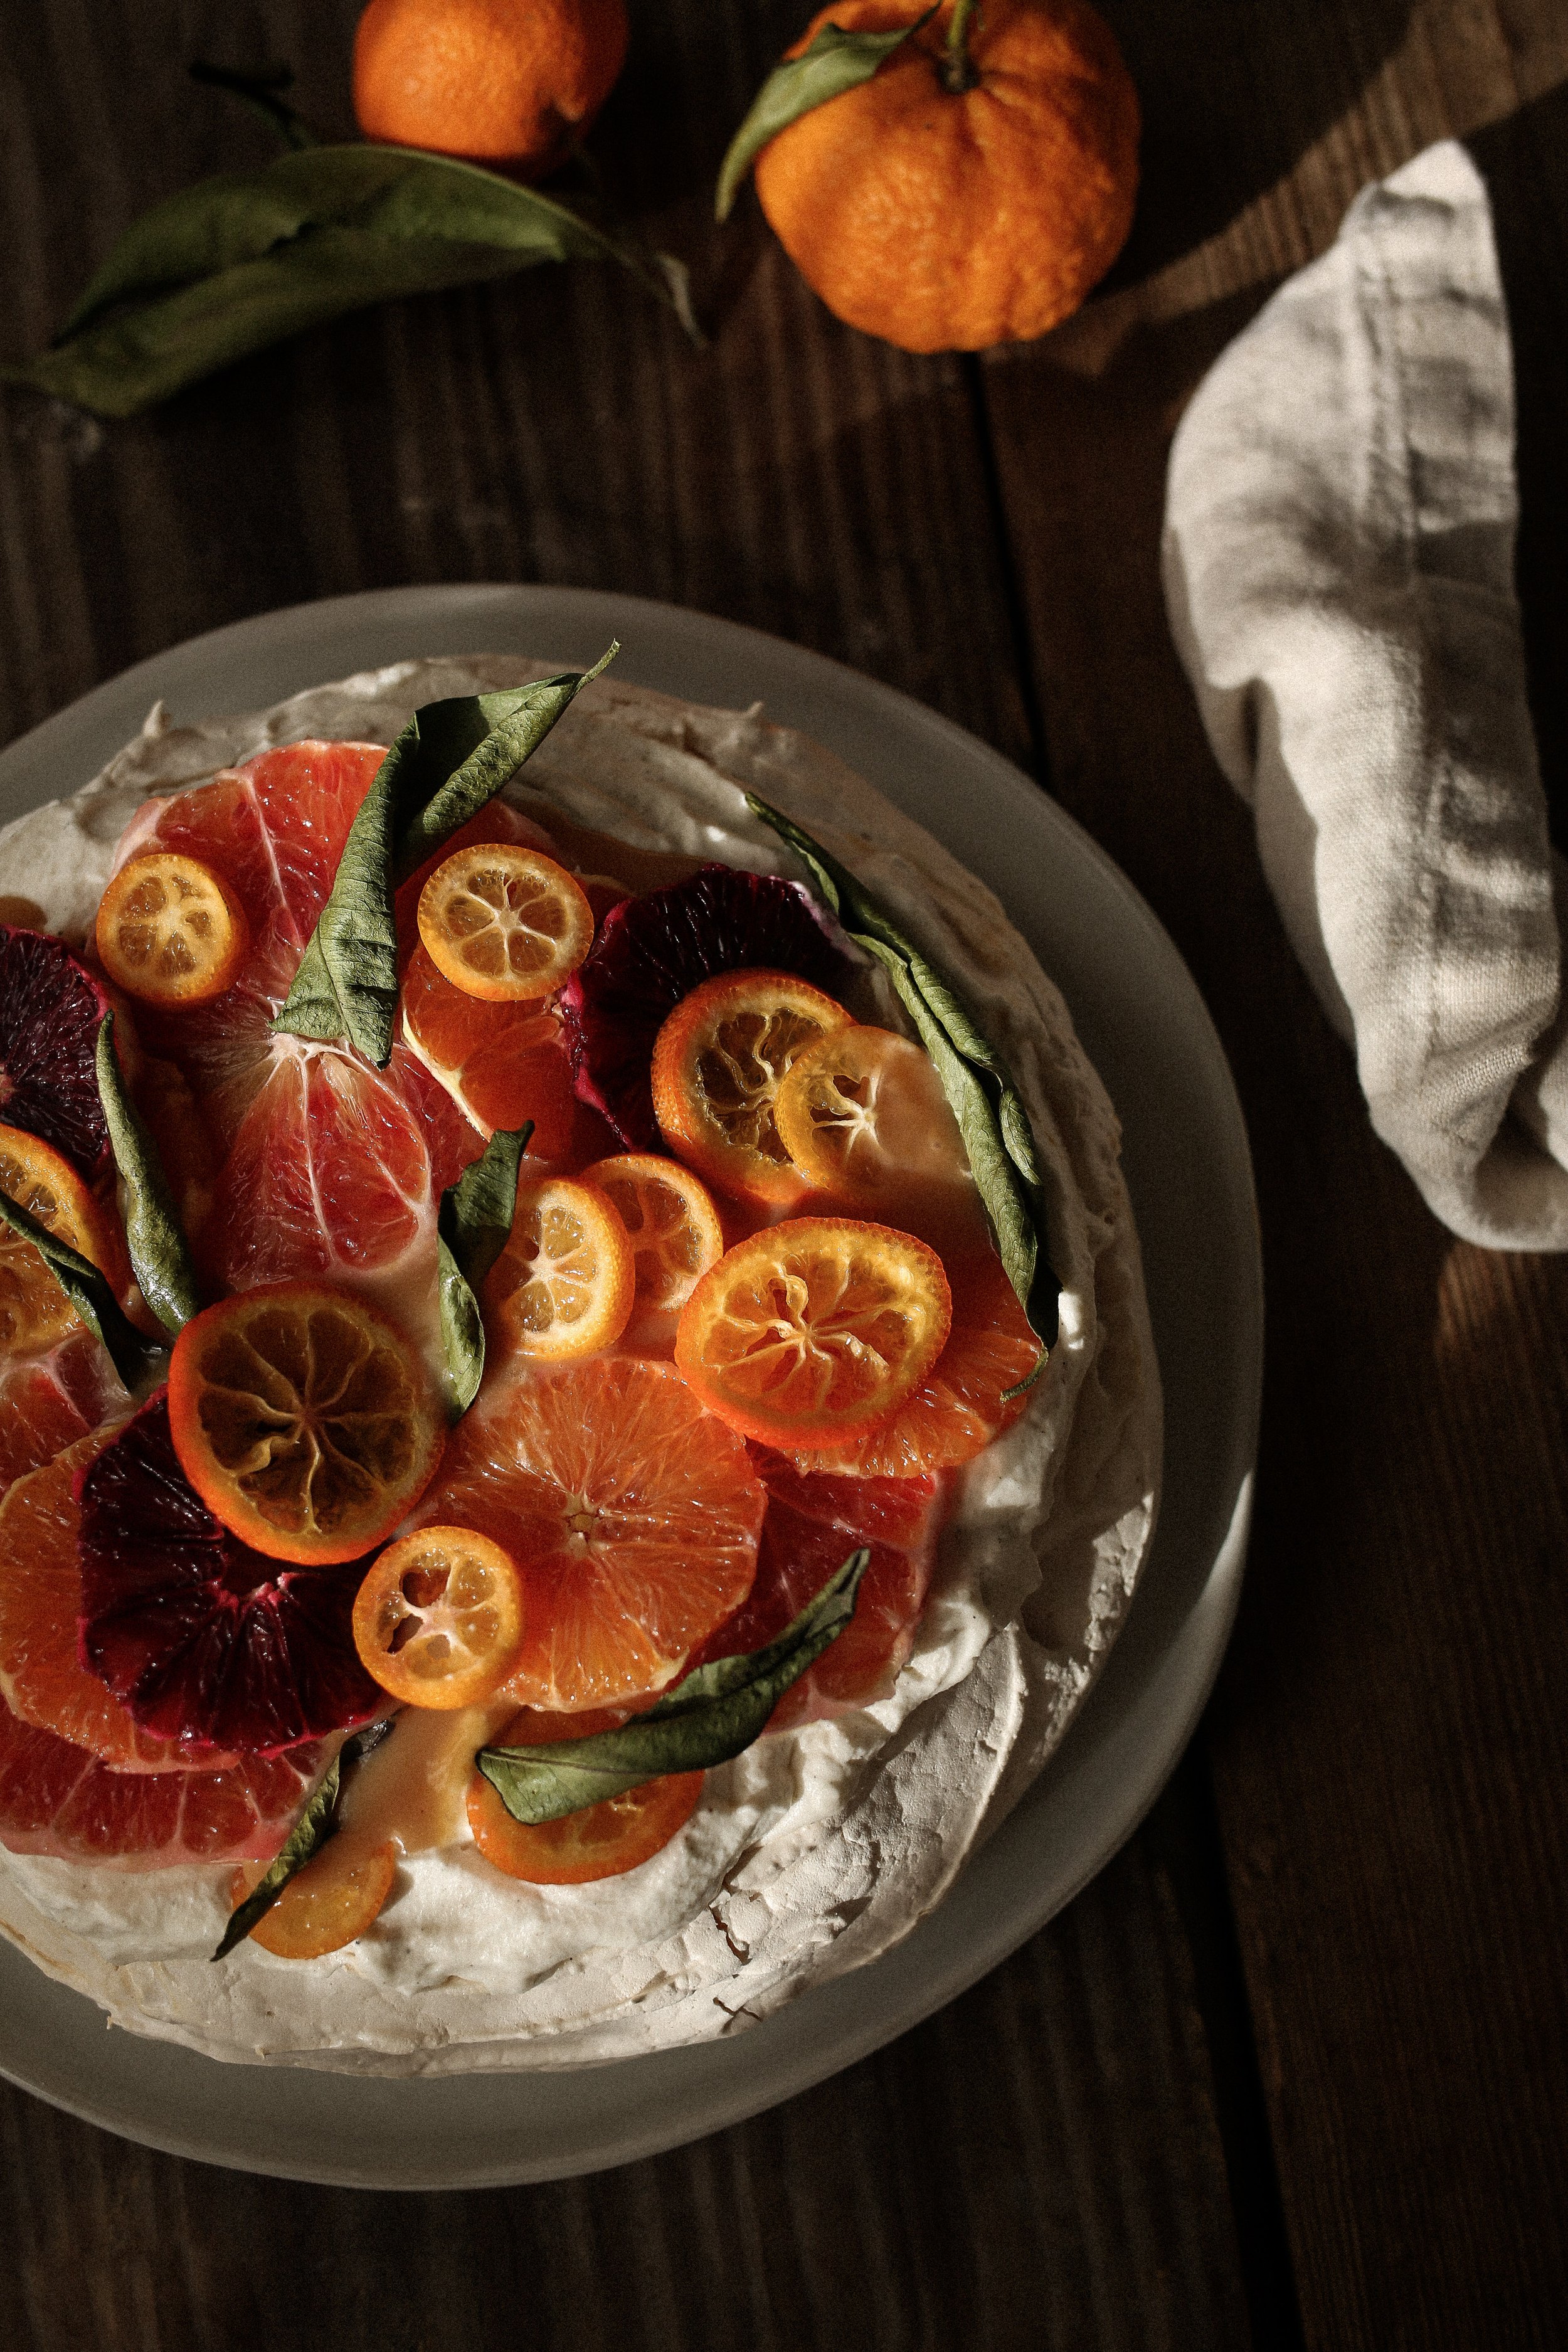
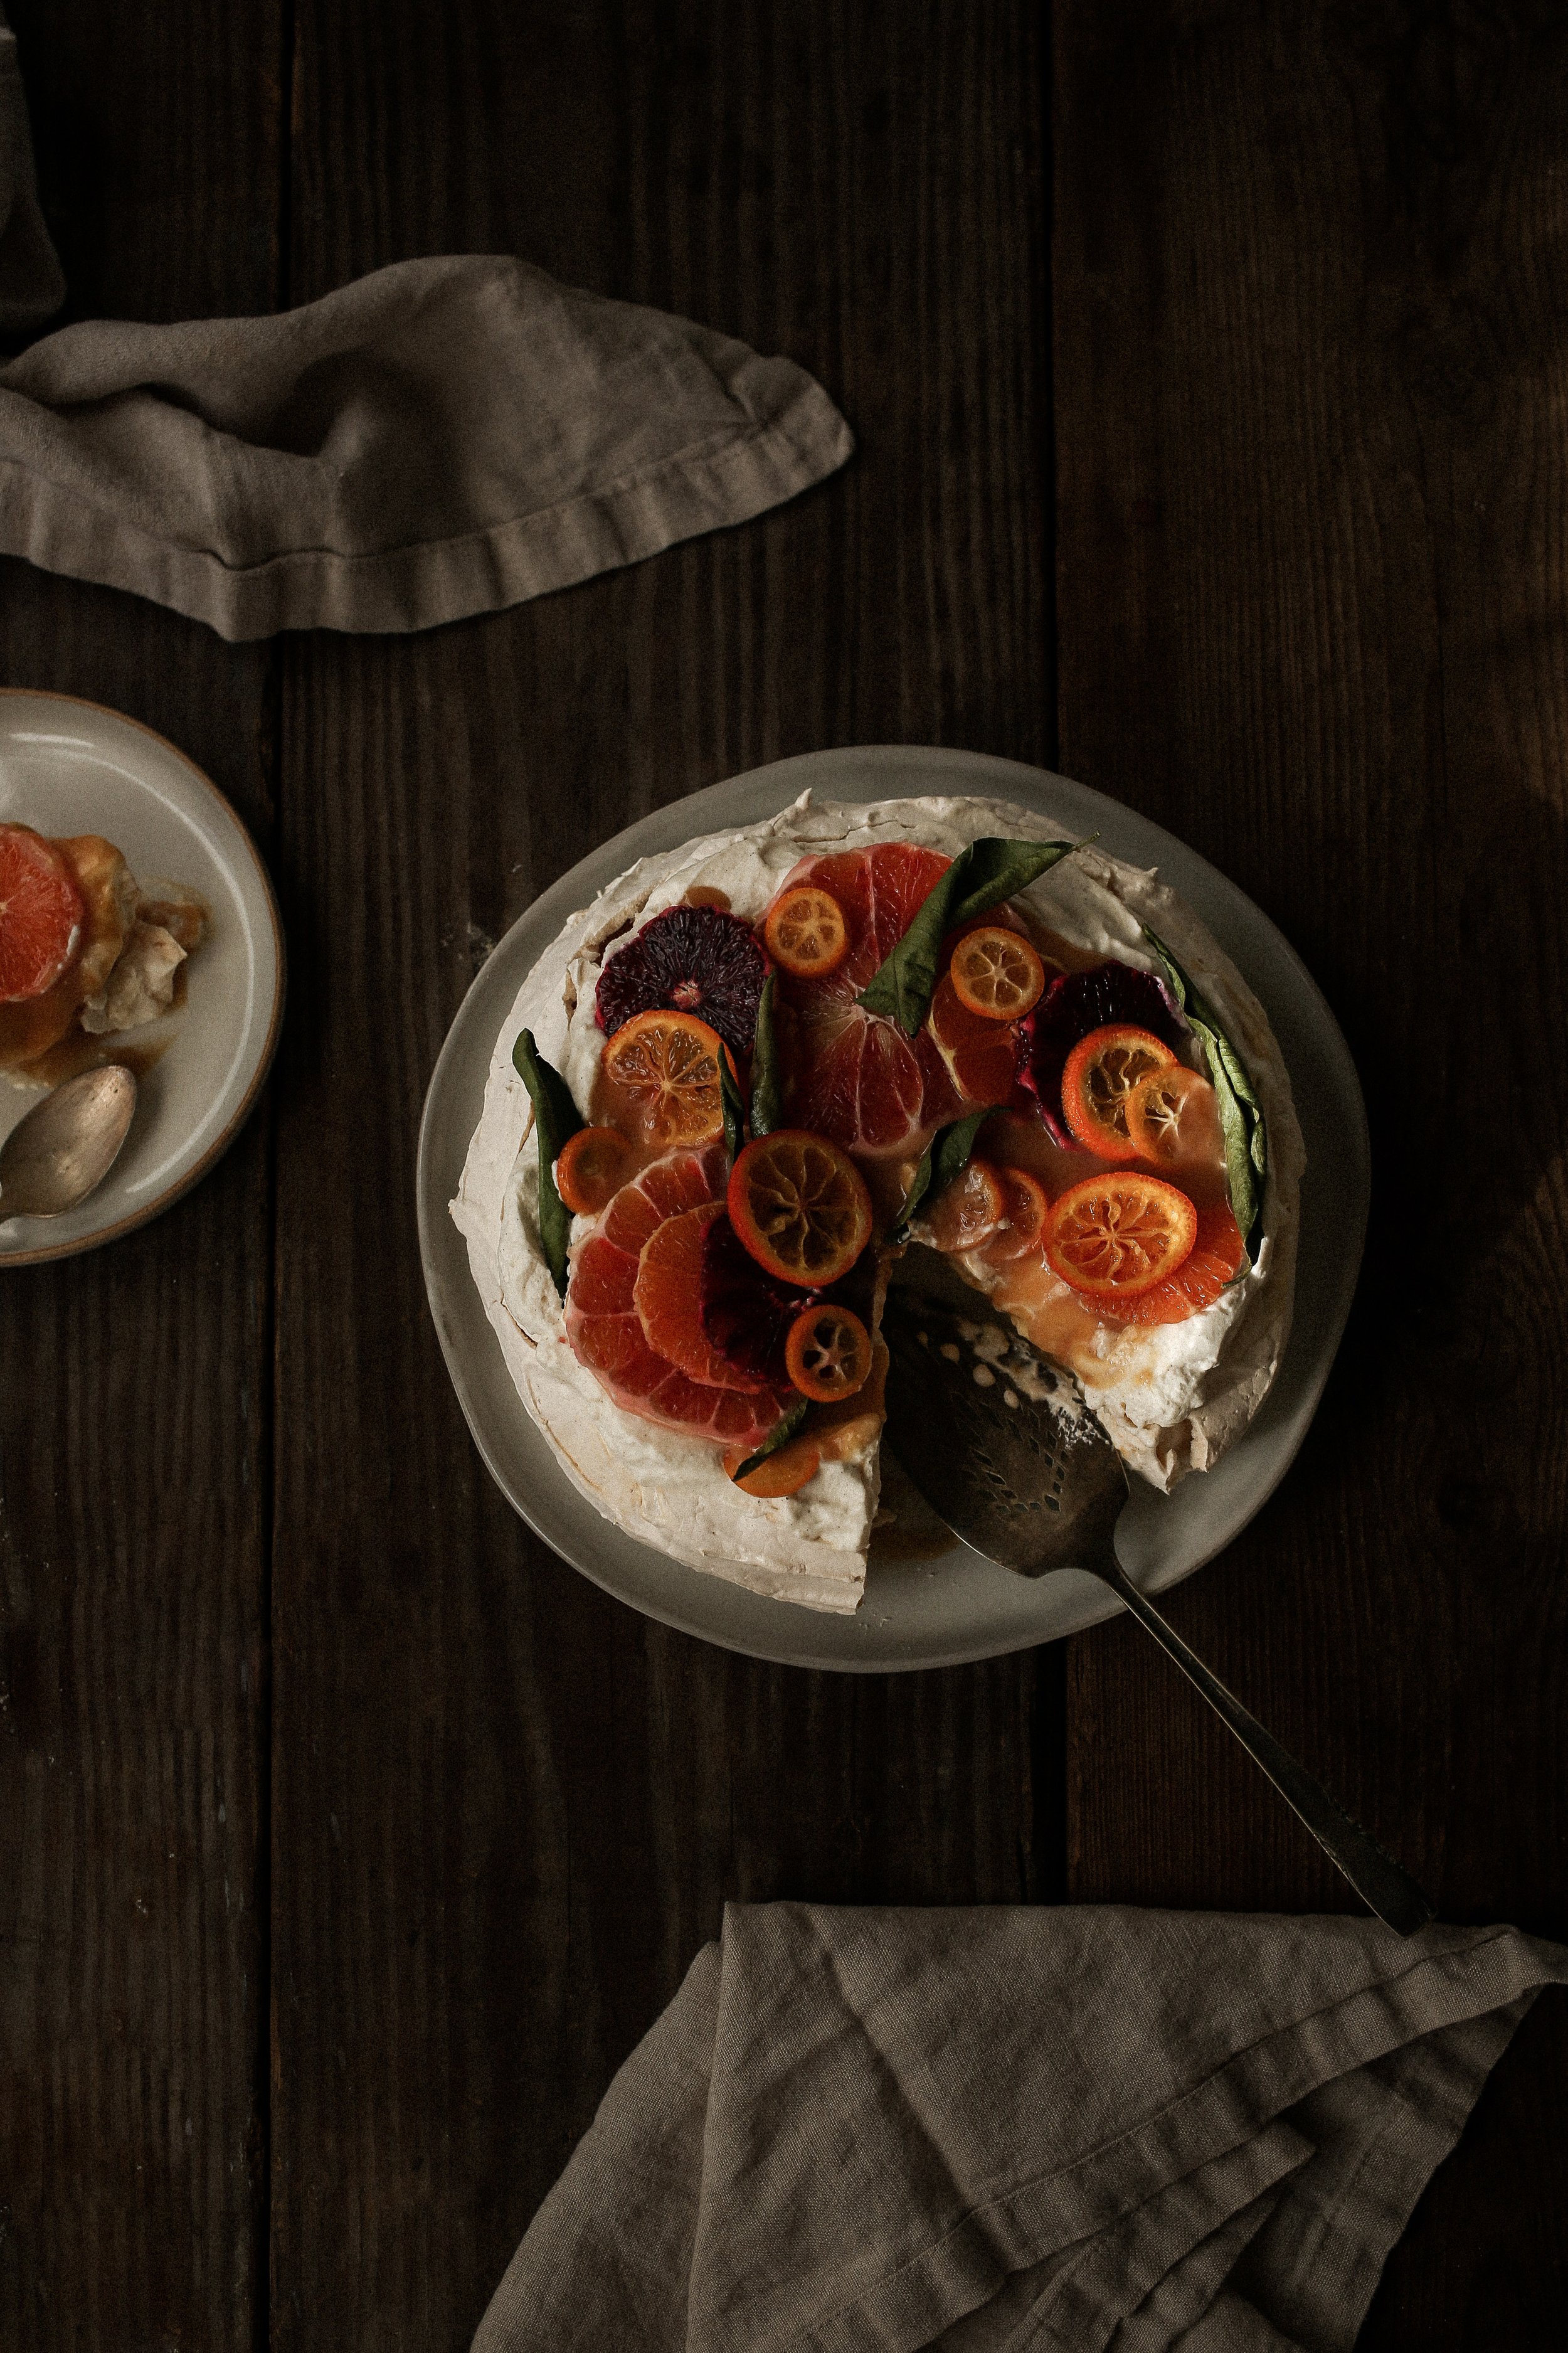
Pavlova with Citrus Curd

Don’t let the impressive looks fool you, this Delicious Pavlova with TANGY Citrus Curd is shockingly simple to make
Growing up I always remember my Mom raving about pavlova and just how much she loved it. It was one of her absolute favorite desserts. However, I’ll admit, as a chocoholic child, I was a bit miffed by this. I mean, why was there so much fruit and where was the chocolate??! But now here I am as an adult, a full on pavlova convert that’s completely smitten with the dessert. I mean, what’s not to love??! There’s crispy, crunchy texture, there’s a marshmallowy inside, there’s piles of whipped cream and it’s the perfect canvas for putting your artistic fruit arrangement talents on full display. Obviously, my 10 year-old self had it all wrong.
For today’s particular recipe, I’m making Pavlova with Citrus Curd, my homemade winter citrus curd, to be exact. As soon as I made it, I knew that the tangy, smooth citrus curd would pair perfectly with the delicate, crispy meringue base and rich and airy whipped cream to create an irresistible combination of textures and flavors. And it’s also such a beautiful way to showcase the abundance of citrus during this winter/early spring season.
Now, while this pavlova may look like a work of art, it actually is quite simple and easy to make. In fact, the mixer and oven do the majority of the work and you probably already have most of the ingredients on hand. Plus, it’a a great way to use up egg whites and did I mention that this dessert also happens to be gluten-free?
A pavlova with citrus curd is not only a treat for your taste buds but it’s also a feast for your eyes. It’s gorgeous, airy texture and vibrant flavors make it a winner every time. So, whether you're preparing it to serve to guests after a dinner party or for special occasion or simply making it as a way to use up egg whites and fruit, it’s sure to be a hit.
Below, I’m sharing my easy pavlova recipe along with tips and tricks for the best pavlova. I hope it inspires you to make your own version at home. Happy baking!

What is Pavlova?
Depending on who you ask, pavlova is a classic dessert that originated in either Australia or New Zealand (perks of traveling to either of those places is definitely seeing pavlova on so many menus), named after the famous Russian ballerina Anna Pavlova. The dessert features a crisp, airy meringue shell with a soft, marshmallow-like center, traditionally topped with fresh fruit like berries, kiwi, or passion fruit.
In this recipe, I’m adding a twist by topping the pavlova with a vibrant citrus curd, giving it a refreshing, zesty zing that perfectly complements and balances out the sweetness of the meringue.

Ingredients
This ingredient list is short and sweet and I can almost guarantee that you probably already have everything on hand and in your pantry. You’ll also notice that it’s entirely gluten-free!
For the Pavlova:
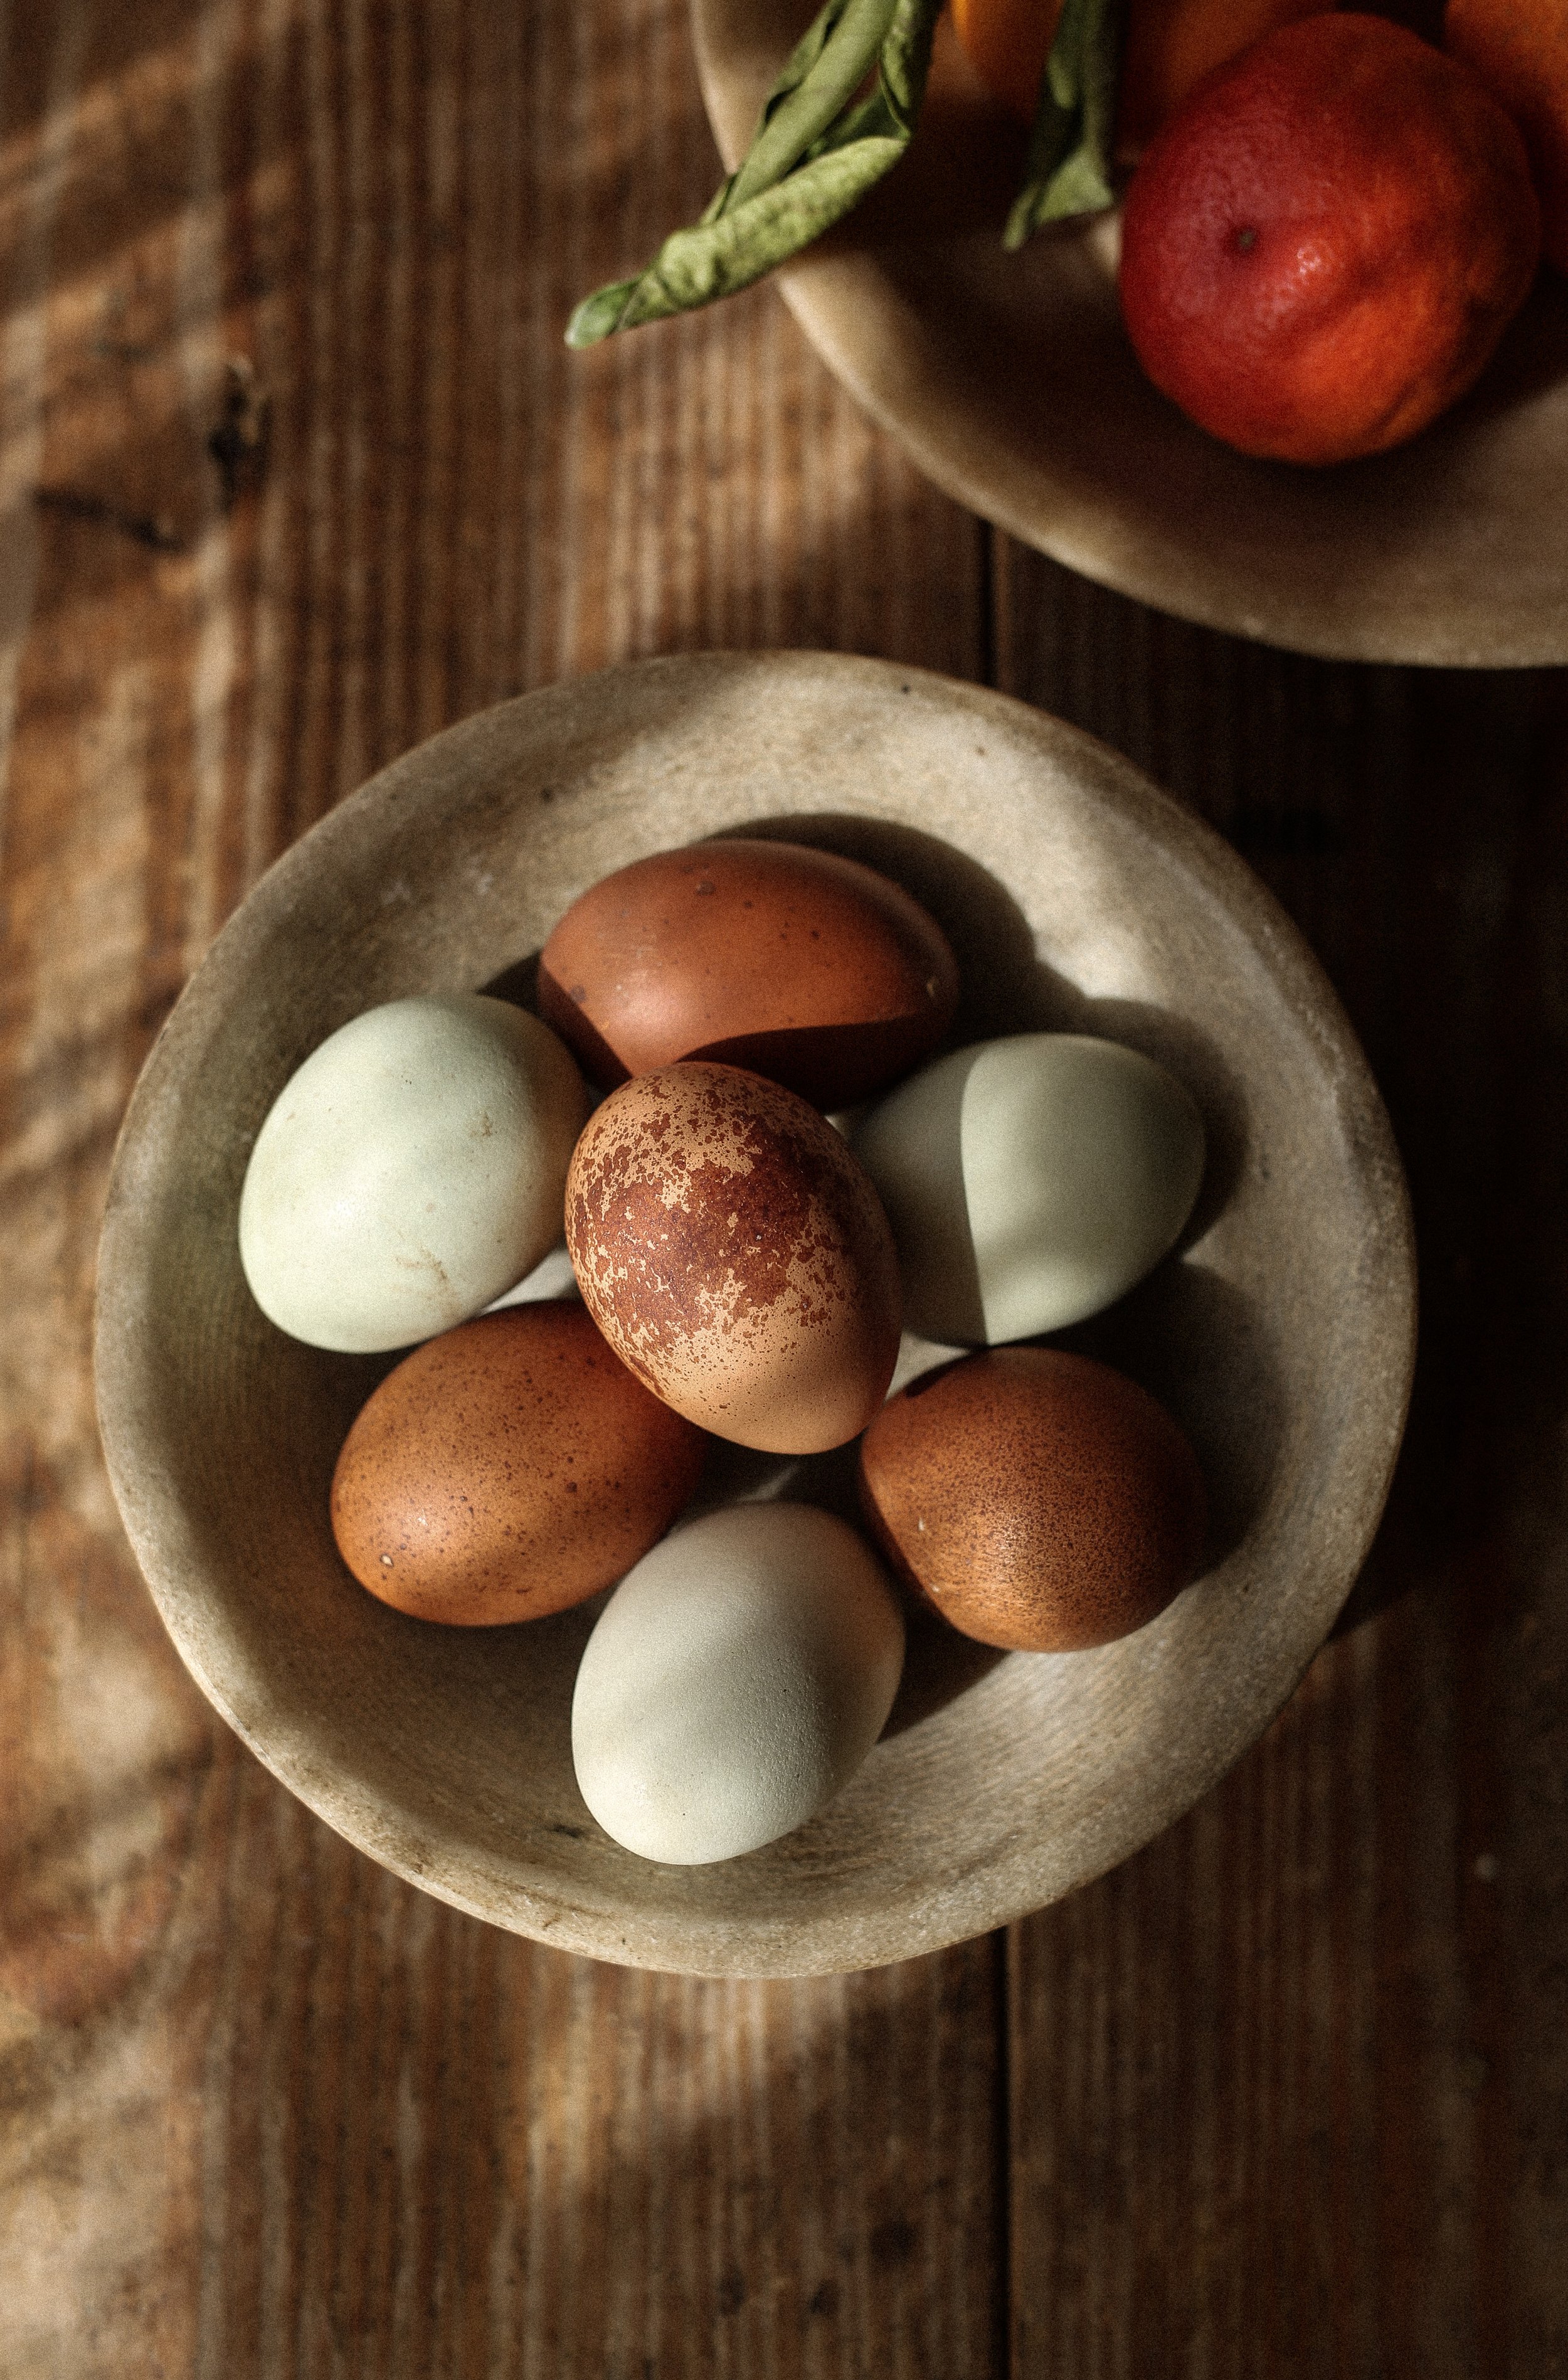
EGGS
GRANULATED SUGAR
CORNSTARCH
LEMON JUICE OR WHITE VINEGAR
VANILLA
SALT
To Serve:
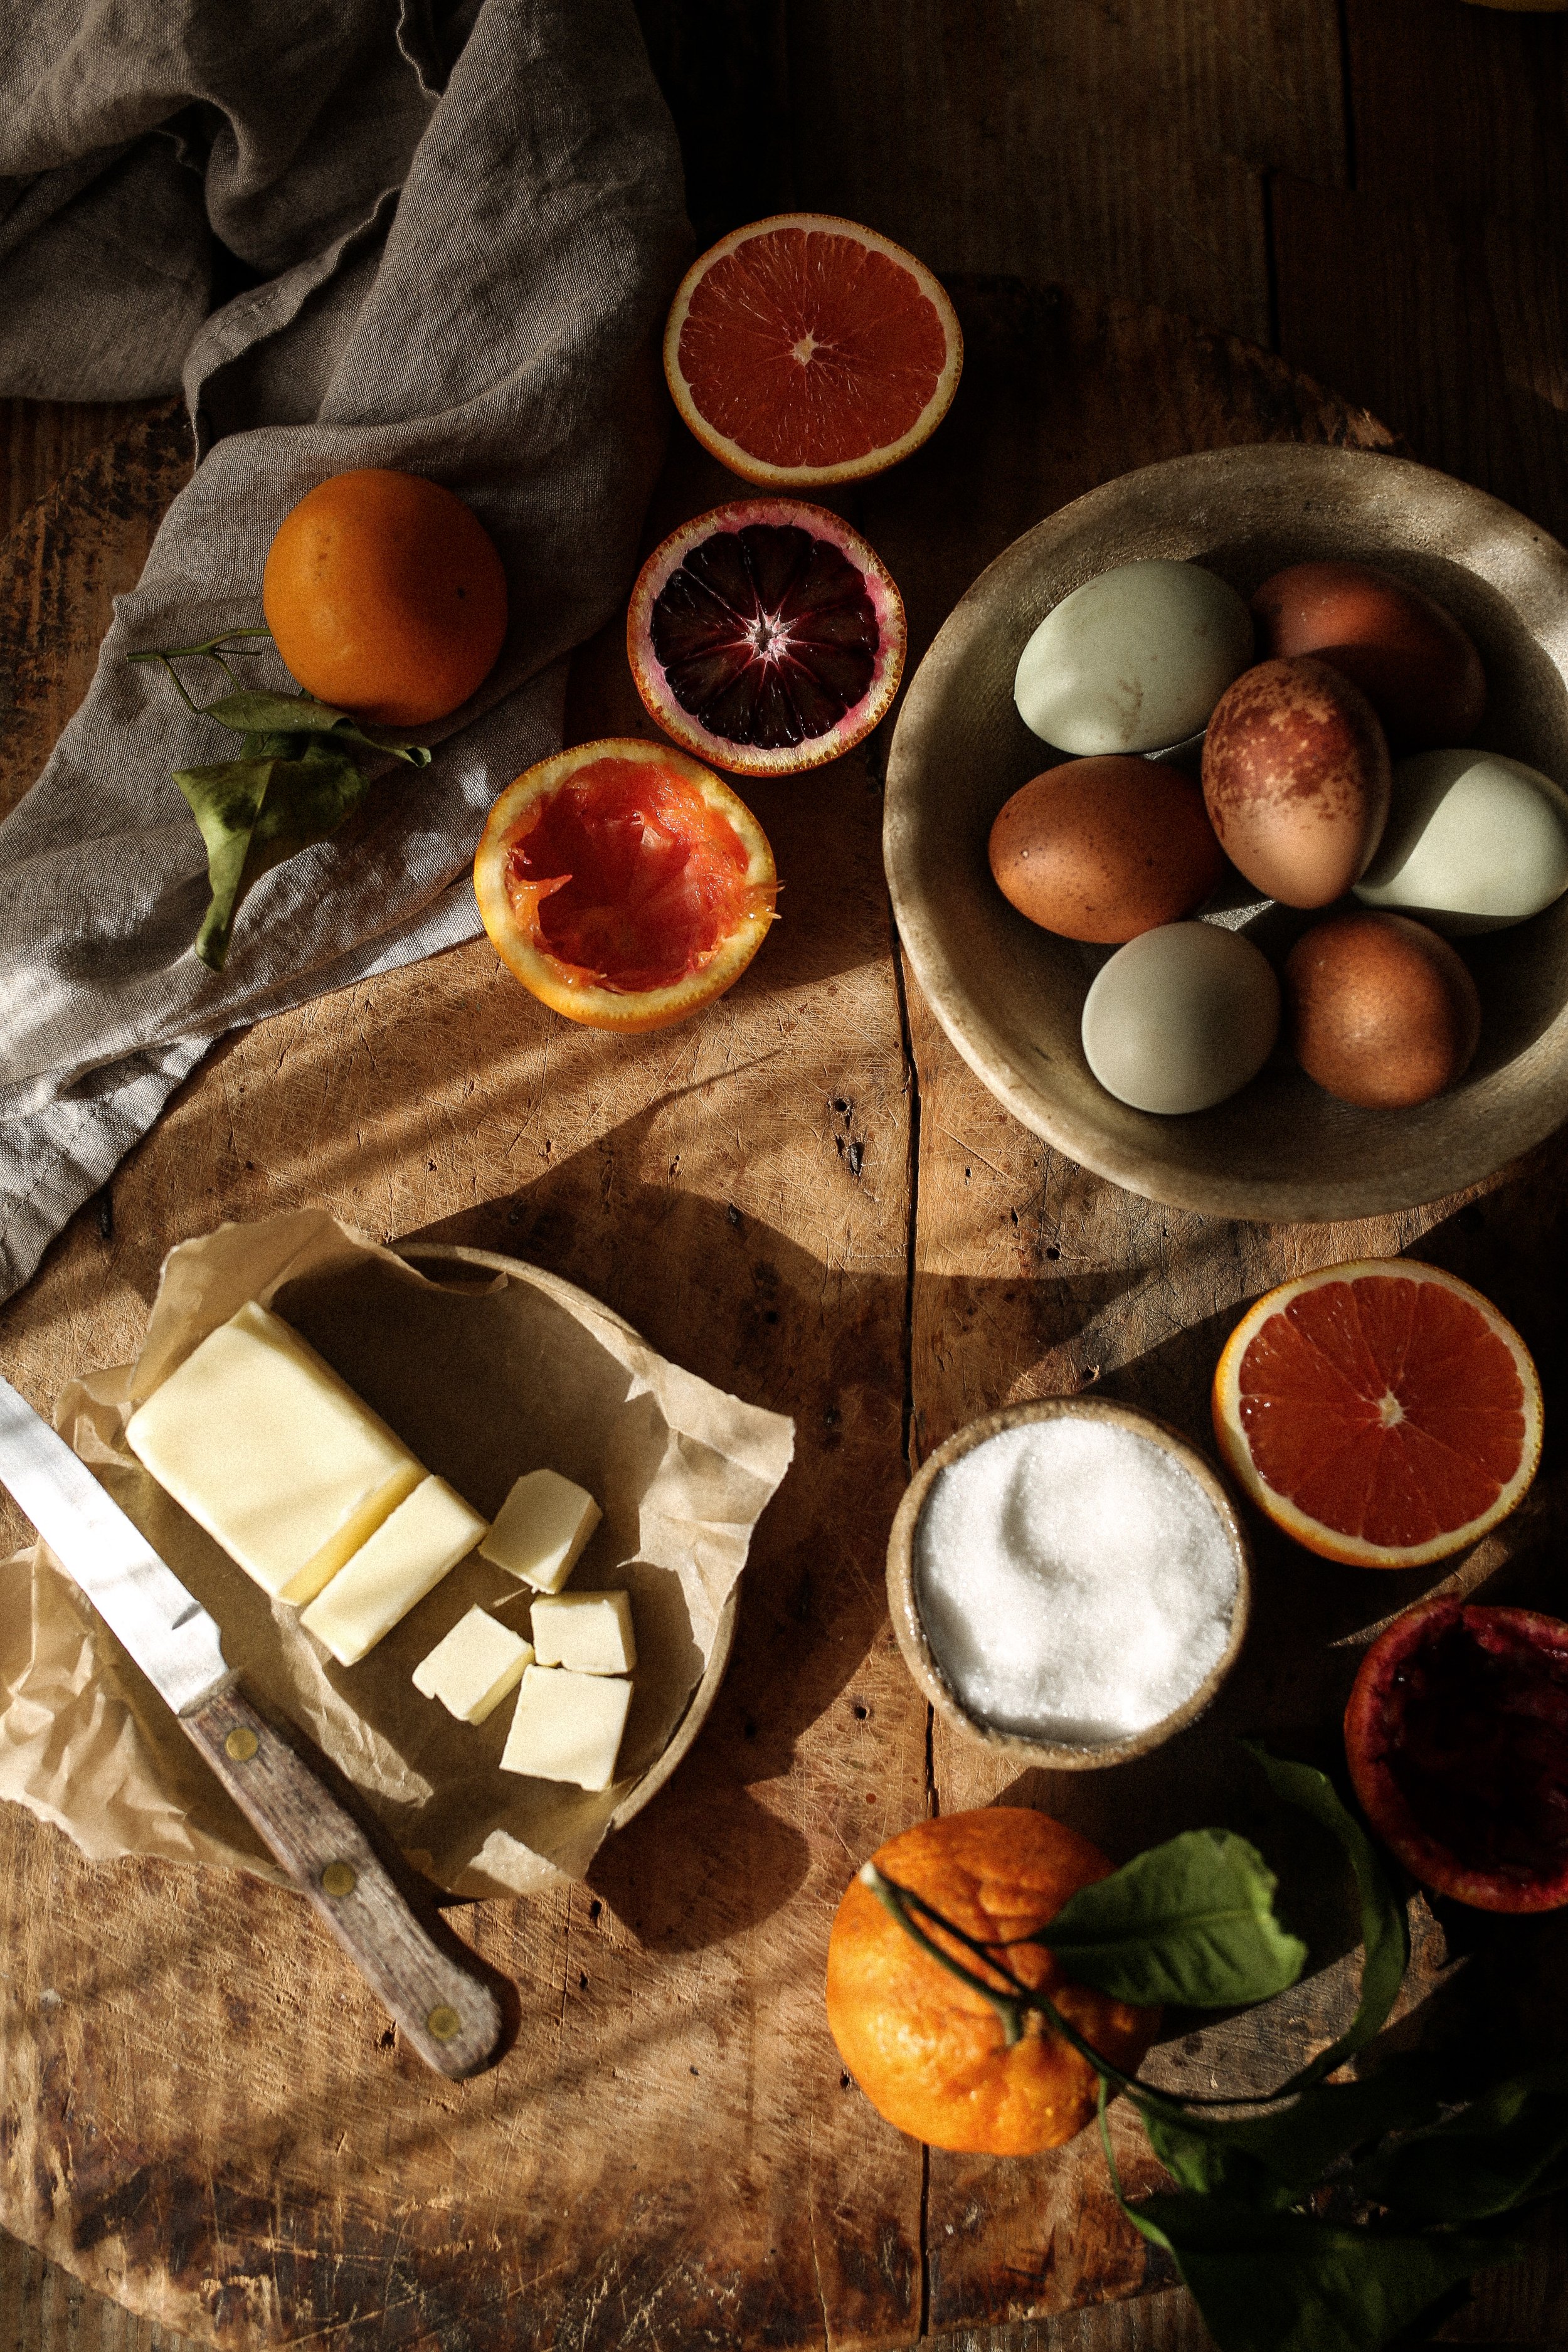
CITRUS CURD
I’m biased and think my homemade winter citrus curd is best (plus it’s really quite simple to make and only takes a few minutes), but in a pinch a pre-made option will work, too.
WHIPPED CREAM
Just a simple vanilla bean paste homemade whipped cream. I make mine unsweetened as I find there to be enough sweetness from the curd and citrus fruit, but feel free to use sweetened whipped cream if you prefer.
Fresh fruit
To keep the citrus theme of this dessert going I like to use a variety of citrus slices to top my pavlova, but fresh berries, especially raspberries, work beautifully, as well.
Fresh citrus leaves
I love adding a little pop of green to the garnish with a few fresh citrus leaves, but, of course, they aren’t edible, so if you prefer an edible option you can use fresh mint leaves, but either is completely optional.

How to Make Pavlova with Citrus Curd
Step 1: Prepare the Pavlova Base
Preheat your oven to 300°F and line a baking sheet with parchment paper.
In a large clean bowl (preferably one that is metal and slightly chilled), whisk the egg whites using an electric mixer or a stand mixer on medium-high speed (I have my stand mixer set to 7-8) until stiff peaks form, about 4-5 minutes.
Gradually begin adding the granulated sugar, slowly pouring in 1/4 cup at a time, continuing to beat on high for about 1 minute after each addition.
Once all the sugar is mixed in, add in the cornstarch, lemon juice or white vinegar, vanilla bean paste, and a pinch of salt. This will help stabilize the meringue.
Continue beating on high for 3 more minutes. The mixture should be really thick, glossy and smooth and no sugar granules should remain when you rub some of the mixture between your fingers.
Spoon the meringue onto the prepared baking sheet, shaping it into a round or oval shape with slightly raised edges to form a nest. Pro tip- use the ring from a springform pan to help you get a perfect round shape. You can also pencil an outline onto the parchment paper if you prefer.
Bake the meringue in the preheated oven for 1 hour 15 minutes to 1 hour 30 minutes, or until it’s hard to the touch and has a golden color.
Turn off the oven and leave the pavlova to cool completely, at least 2 hours up to overnight, in the oven with the door slightly ajar. This will help it maintain its crisp texture.

Step 2: Make the homemade Citrus Curd
While the pavlova bakes, make the citrus curd. To make your own, use my citrus curd recipe, which includes step-by-step instructions.
Making citrus curd from scratch takes all of 10 minutes and it is so easy! You’ll want to let it chill for at least an hour or two, so depending on when you’re planning to serve your pavlova I recommend you either make the curd ahead of time (it will last in the fridge for up to 1 week) or, if you’re making everything at the same time, you can make the curd as soon as the pavlova starts baking. Then both will be cooled and ready to assemble around the same time.

Step 3: Assemble the Pavlova
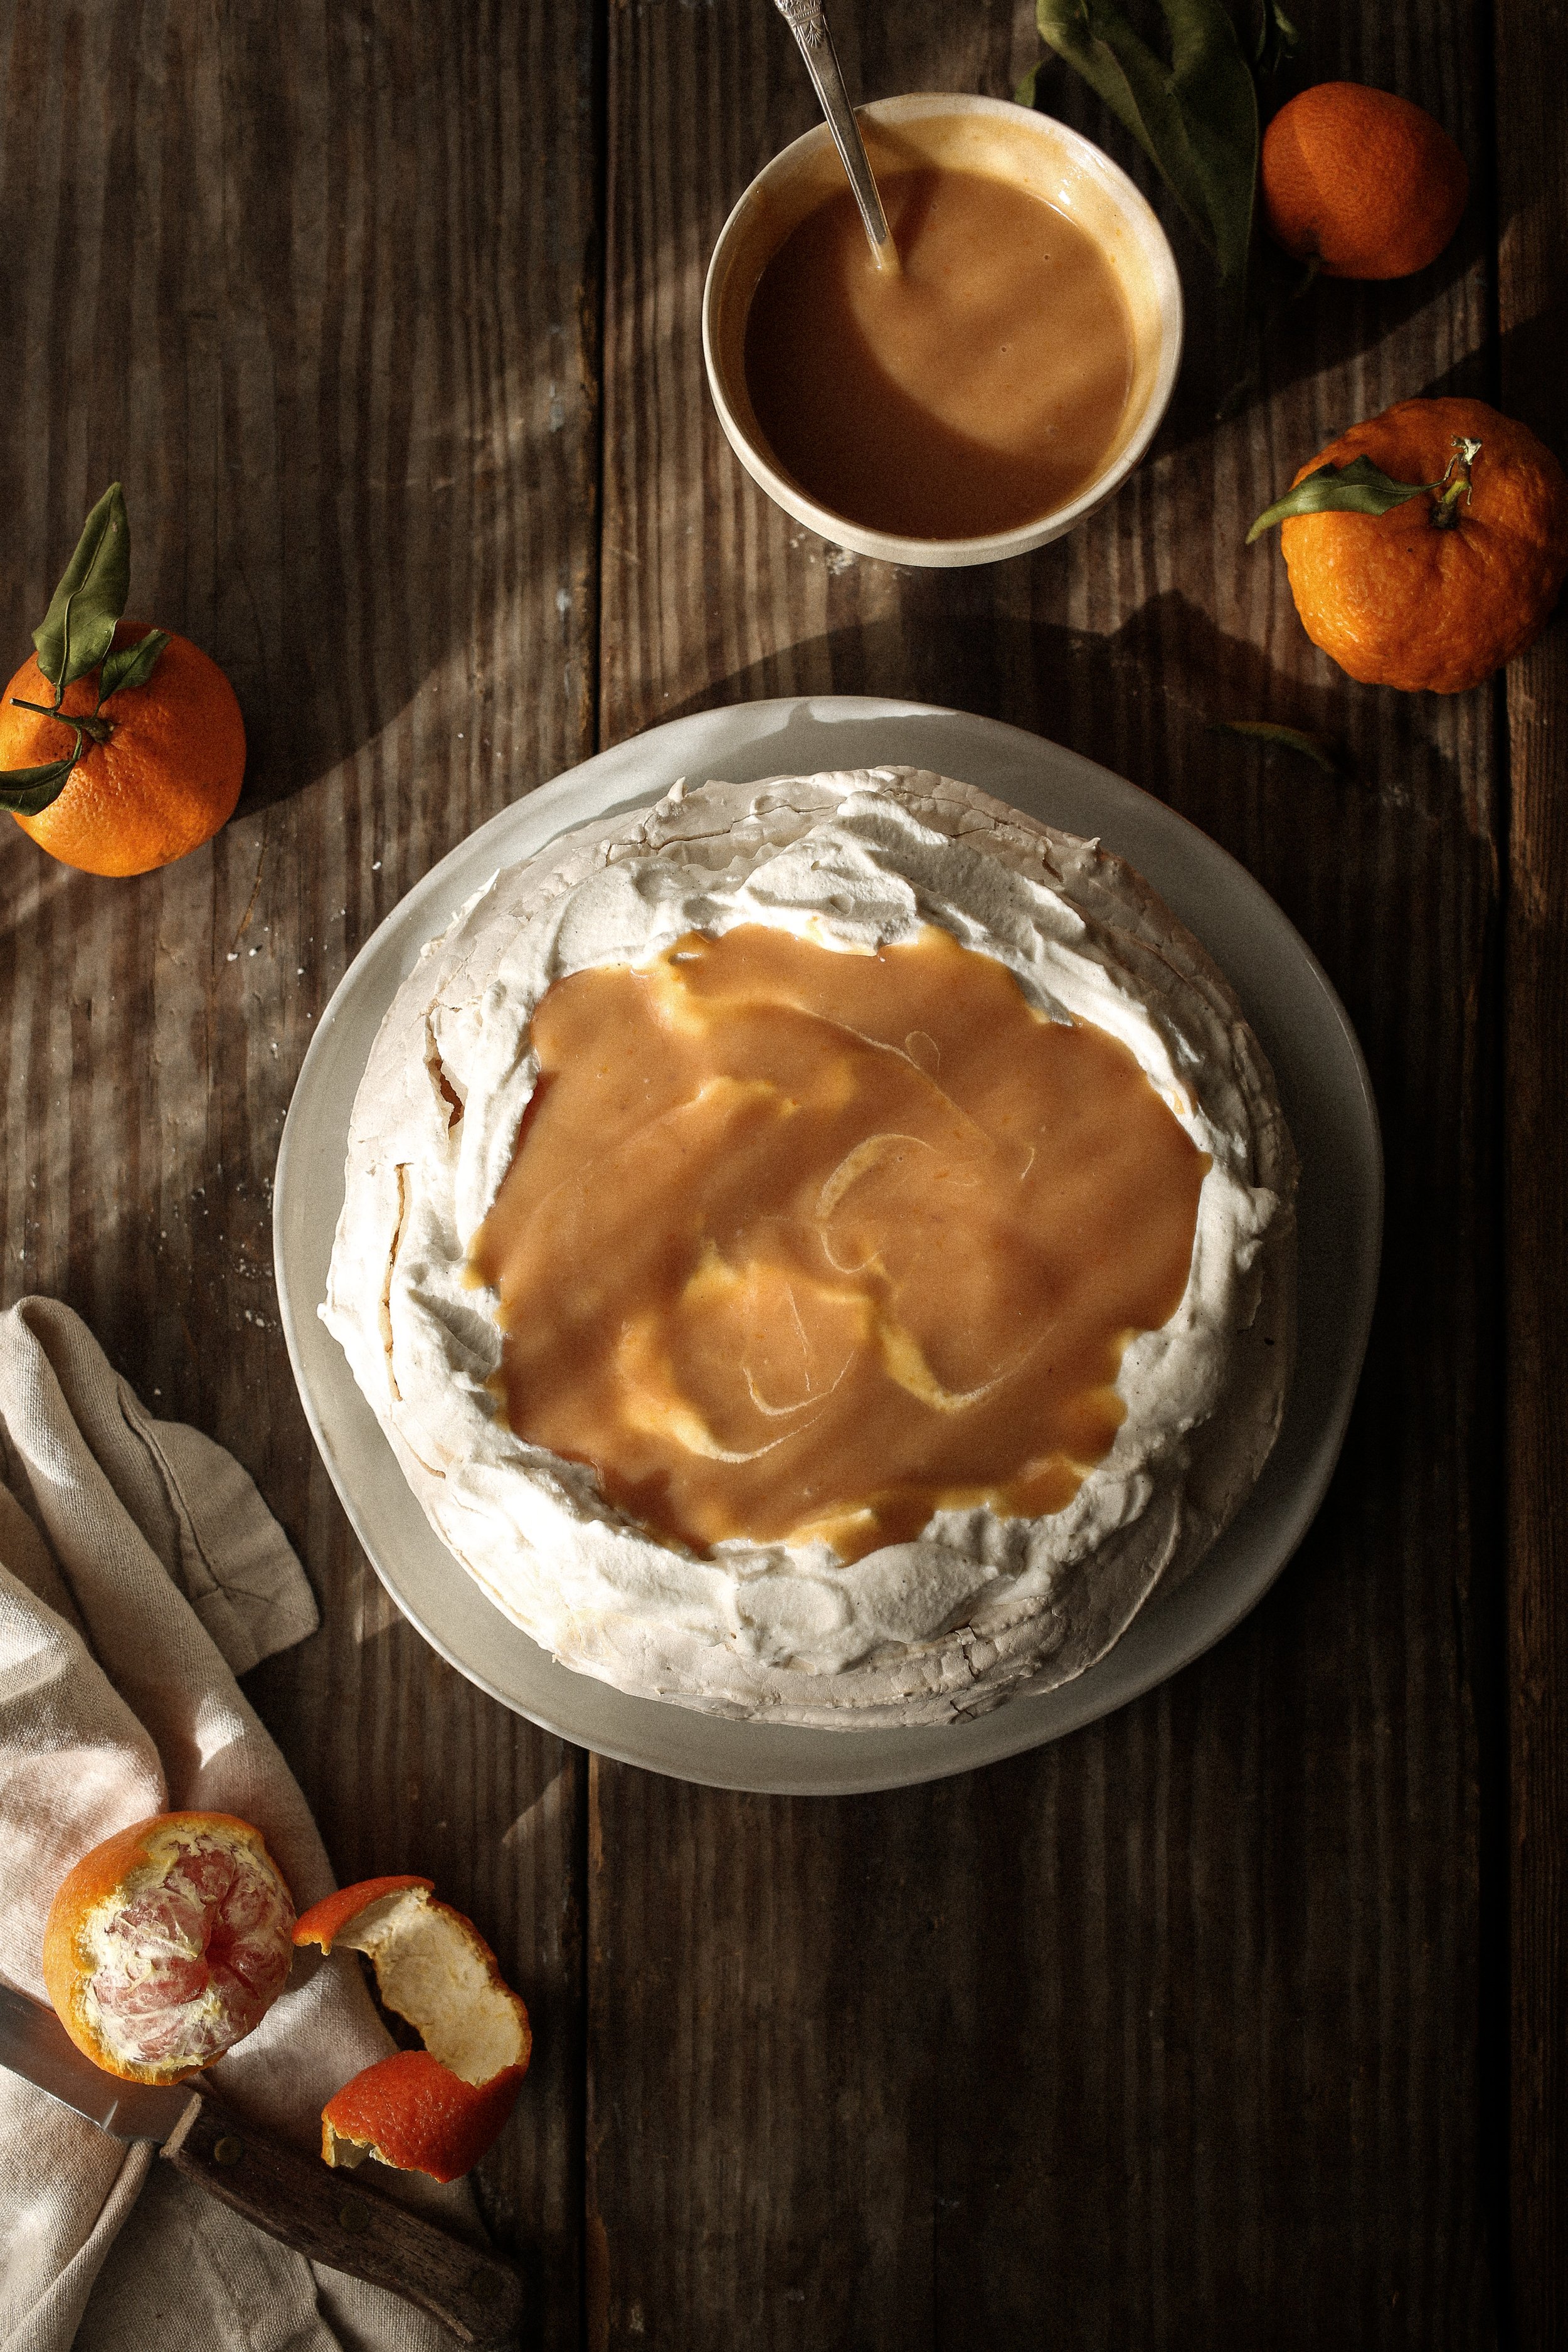
Once the pavlova has cooled, gently transfer it to a serving platter.
Top with whipped cream, then gently spread the citrus curd over the cream, leaving a small border around the edges.
Top with fresh fruit of your choice. Berries, kiwi slices, and citrus segments all make beautiful and delicious additions.
If desired, garnish with a few fresh mint leaves for an extra burst of color and flavor.


Recommended Tools to Make a Pavlova
STAND MIXER: While you can absolutely use a hand mixer, I recommend a stand mixer with the whisk attachment to whip the egg whites and whip the heavy cream. It gives the best results and will also prevent your arm from falling off from the 15+ minutes of mixing that this recipe involves.
VANILLA BEAN PASTE: While vanilla extract works, I love using vanilla bean paste in the pavlova and whipped cream as I find the depth of flavor is richer and it doesn’t hurt that the little specks of vanilla beans are pretty.
SHEET PAN: A light-colored pan is preferred to help prevent the bottom of the pavlova from browning too much.
PARCHMENT PAPER: Use parchment paper, or a silicone baking mat, to prevent the pavlova from sticking to the sheet pan.
Tips for the Perfect Pavlova with Citrus Curd
Make sure the bowl and beaters you use for whipping the egg whites is very clean and completely dry. Even the tiniest bit of grease, scum or water will prevent your egg whites from whipping up into perfectly stiff peaks.
Use room temperature egg whites. This will help your meringue whip up better, so be sure to let them sit out for at least 30 minutes before using. A little hack- If you forgot to remove your eggs/egg whites from the refrigerator in enough time, you can simply place the whole eggs in a bowl of warm water for 15 minutes to bring them up to room temperature before cracking and separating the egg whites.
Make the components of the pavlova ahead of time, but wait to assemble the pavlova until immediately before serving. The meringue and citrus curd can each be made several days ahead of time, but the pavlova will lose its crispy exterior once you add the toppings, so be sure to wait and assemble right before serving. Store the curd in the fridge and the pavlova at room temperature until ready to use. I prefer to whip the cream right before assembling but you can also make that ahead of time if needed.


Why You’ll Love This Pavlova with Citrus Curd
This pavlova with citrus curd is the perfect balance of sweetness and tartness. The meringue is light and crunchy, while the citrus curd adds a silky, tangy element that cuts through the sweetness. It’s a show-stopping dessert that works for any occasion, from family dinners to holiday celebrations. Plus, it’s naturally gluten-free!
LOOKING FOR OTHER CITRUS RECIPES TO ENJOY?
Here are a few of my other favorite citrus-based recipes:
KUMQUAT BASIL MARGARITAS: A fresh and fun way to utilize kumquats
BLOOD ORANGE ROSEMARY PALOMA: A zesty and herbacious twist on the classic paloma
DARK CHOCOLATE DOUBLE ESPRESSO ORANGE CHOCOTINI: Enjoy a touch of citrus in this decadent and chocolatey, but booze free, beverage
CRISPY CHICKEN WITH CITRUS, FENNEL + OLIVES: Crispy Chicken thighs with jammy fennel and a zesty, herby citrus and green olive salsa verde…a mouthful but wow! is it worth it!
SLOW ROASTED SALMON WITH WINTER CITRUS + CRANBERRIES: A bright and beautiful salmon dish that is elegant and delicious enough for a dinner party but easy enough for weeknight supper
RADICCHIO SALAD: This winter salad is crisp and refreshing and gets a nice added pop of zesty flavor thanks to the citrus.
BLOOD ORANGE PISTACHIO MADELINES: Delightful little treats that are nutty with just a burst of citrus flavor; perfect for dessert, tea time, snacking or after dinner treats.

BECAUSE FOOD TASTES BETTER WHEN IT’S SHARED WITH OTHERS…
If you make this PAVLOVA WITH CITRUS CURD, please snap a photo and share it, tagging me on INSTAGRAM so I can see! Truly nothing makes me happier than when I see others making and enjoying my recipes!
Also, don’t forget to pin this recipe for later and share it with your fellow cocktail lovers.
And for more delicious recipes, be sure to follow along on PINTEREST and subscribe to my free newsletter here!

PAVLOVA WITH CITRUS CURD
Ingredients
- 3 eggs
- 4 egg yolks
- 1 cup granulated sugar
- 1 cup citrus juice (roughly 2 oranges, 1 lemon, 1/2 grapefruit or pomelo)
- 1/3 cup citrus zest (roughly 2 oranges, 1 lemon, 1/2 grapefruit or pomelo)
- 1/2 cup butter, cut into cubes
- Generous pinch of kosher salt
Instructions
- Start by zesting the orange and lemon and juicing the fruits. Make sure to strain out any seeds or pulp for a smooth curd.
- In a medium saucepan, whisk together the citrus juices, zest, eggs, and sugar. Place the saucepan over medium heat, and whisk constantly to avoid the eggs from curdling.
- Continue to cook the mixture over medium heat, stirring constantly until it thickens and coats the back of a spoon. This should take about 8-10 minutes. You can test the thickness by running your finger across the back of the spoon—if it leaves a trail, it’s ready.
- Once the curd has thickened, remove it from the heat and whisk in the butter, one piece at a time, until fully incorporated. Add a pinch of salt to balance the sweetness and acidity.
- For an ultra-smooth texture, strain the curd through a fine-mesh sieve to remove any bits of zest or egg curdles.
- Allow the curd to cool to room temperature before transferring it to an airtight jar or container. It will thicken further as it cools. Store it in the refrigerator for up to 2 weeks.


This information is provided as a courtesy and is an estimate only. Although we attempt to provide accurate nutritional information, these figures are only estimates and come from online calculators. Variations may occur due to substitutions used, food preparation, freshness of ingredients and product availability, among other factors.You are solely responsible for ensuring that any nutritional information obtained is accurate.


SHOP THE POST
ITEMS + INGREDIENTS FEATURED IN/NEEDED FOR THIS RECIPE